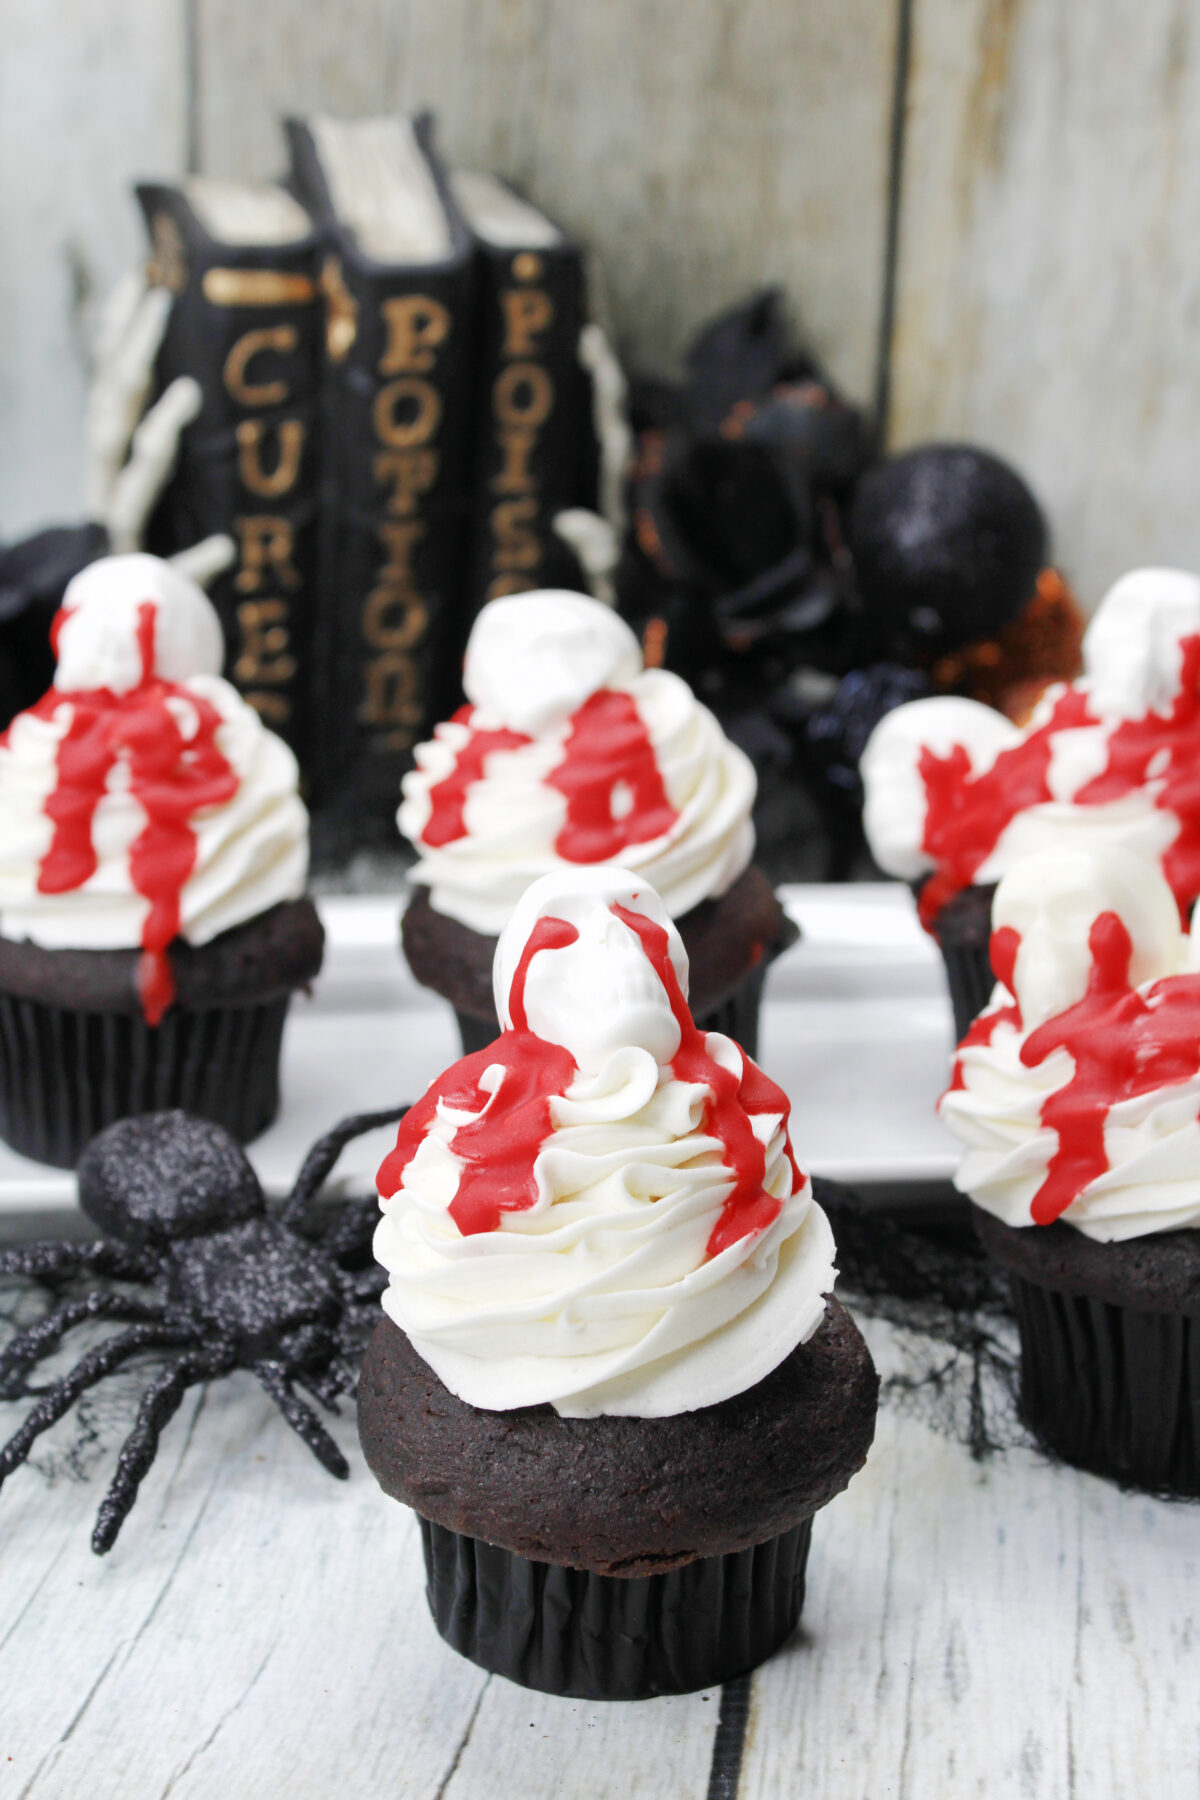
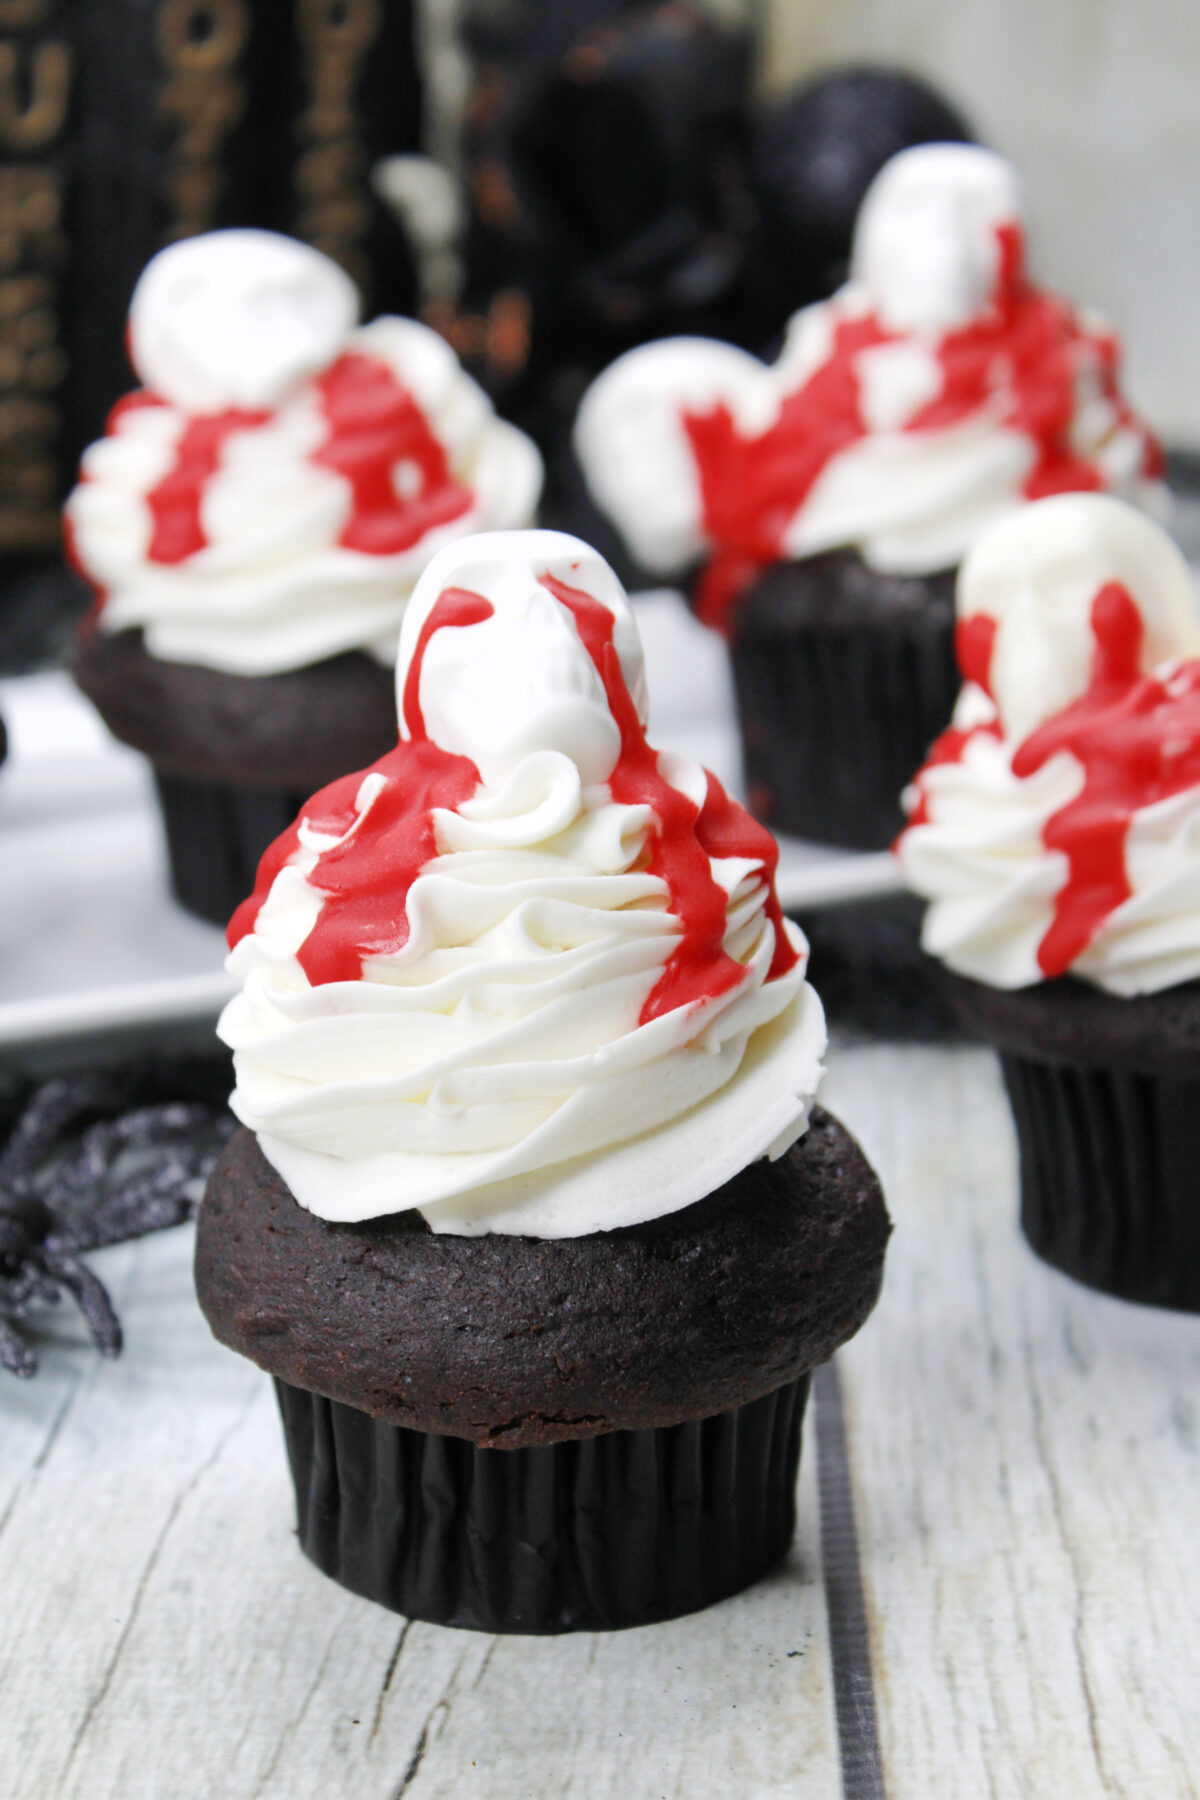
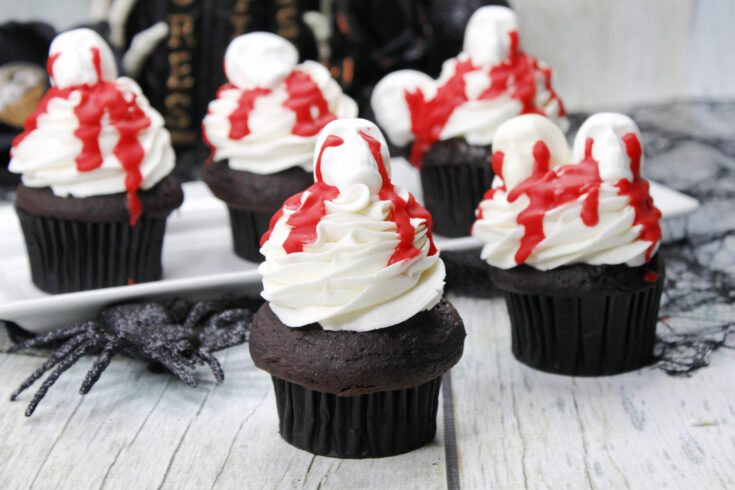
Bloody Skull Cupcakes
Get into the spirit of Halloween with this spooky treat! Learn to make Bloody Skull Cupcakes using simple ingredients with this easy recipe!

Are you ready to make something spooky and sweet? If so, this Bloody Skull Cupcakes recipe will be the perfect Halloween treat!
Featuring a combination of chocolate cake mix cupcakes, vanilla buttercream frosting, and topped with mini chocolate skuls, these macabre-yet-tasty skull cupcakes are exactly what you need for your spookiest celebrations.
So continue reading on if you’re eager to find out how to whip up these delightful treats that Witches and Ghouls alike will love.
Tips for Making the BEST Halloween Cupcakes
- Make sure NOT to over-mix the batter if you want light, fluffy cupcakes.
- Use your favourite chocolate cupcake recipe if you prefer.
- Use ingredients that are at room temperature for best results.
- Do NOT open the oven door while baking.
- Always fill your cupcake liners about 2/3 full.
- Allow your cupcakes to completely cool before frosting.
- Make sure to move quickly when making the skulls as the melts will begin to set fast.
- Always heat the melts on a low setting to help prevent it from seizing and clumping up.
- If your melts do seize up you can loosen it up with a little coconut oil or vegetable shortening stirred in until smooth.
Looking for More Halloween Cupcakes
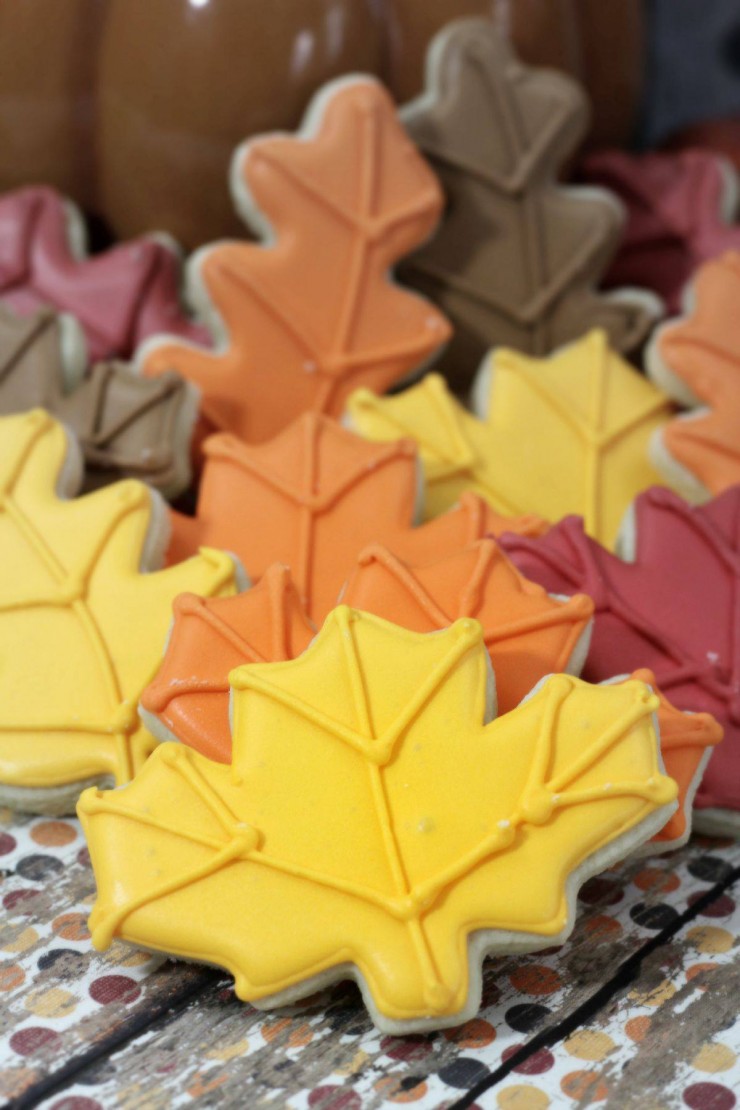
These creepy blood splatter cookies are perfect for your next Halloween party! They’re easy to make and will definitely spook your guests.
These spooky, bloody eyeball cupcakes are perfect for your next Halloween party! These easy to make ghoulish goodies can be ready in no time!
These Frankenstein Brownies are a cute Halloween treat that are a little spooky and a little bit sweet. Perfect for Halloween parties, kids are sure to love this ghoulish treat!
How to Make Bloody Skull Cupcakes
Yields: 14 Cupcakes | Prep Time: 35 Minutes | Cook time: 20 Minutes
Ingredients:
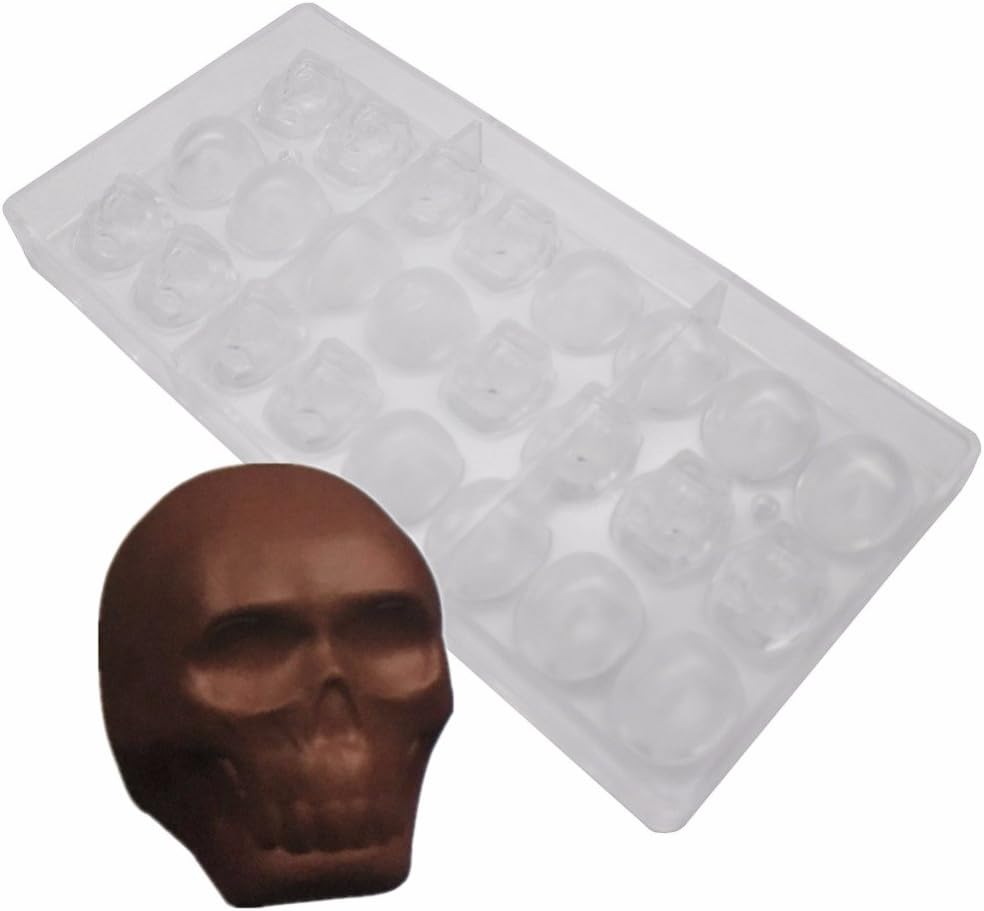
For the White Chocolate Skulls:
- 16 oz white candy melts
- Chocolate skull moulds
For the Cupcakes:
- 15 oz chocolate cake mix
- 3 large eggs
- ½ unsalted butter, softened
- 1 ¼ Cups whole milk
For the Vanilla Frosting:
- 1 ½ Cups unsalted butter, softened
- 5 ½ Cups powdered sugar
- 3 teaspoons pure vanilla extract
- 4 tablespoons heavy whipping cream
- 2 tubes of red gel icing or red cookie icing
Directions:
To make the skulls, follow the directions on the candy melt bag to melt them.
Follow the directions on the mould to create the skulls, you will need about 30 small white candy melt skulls.
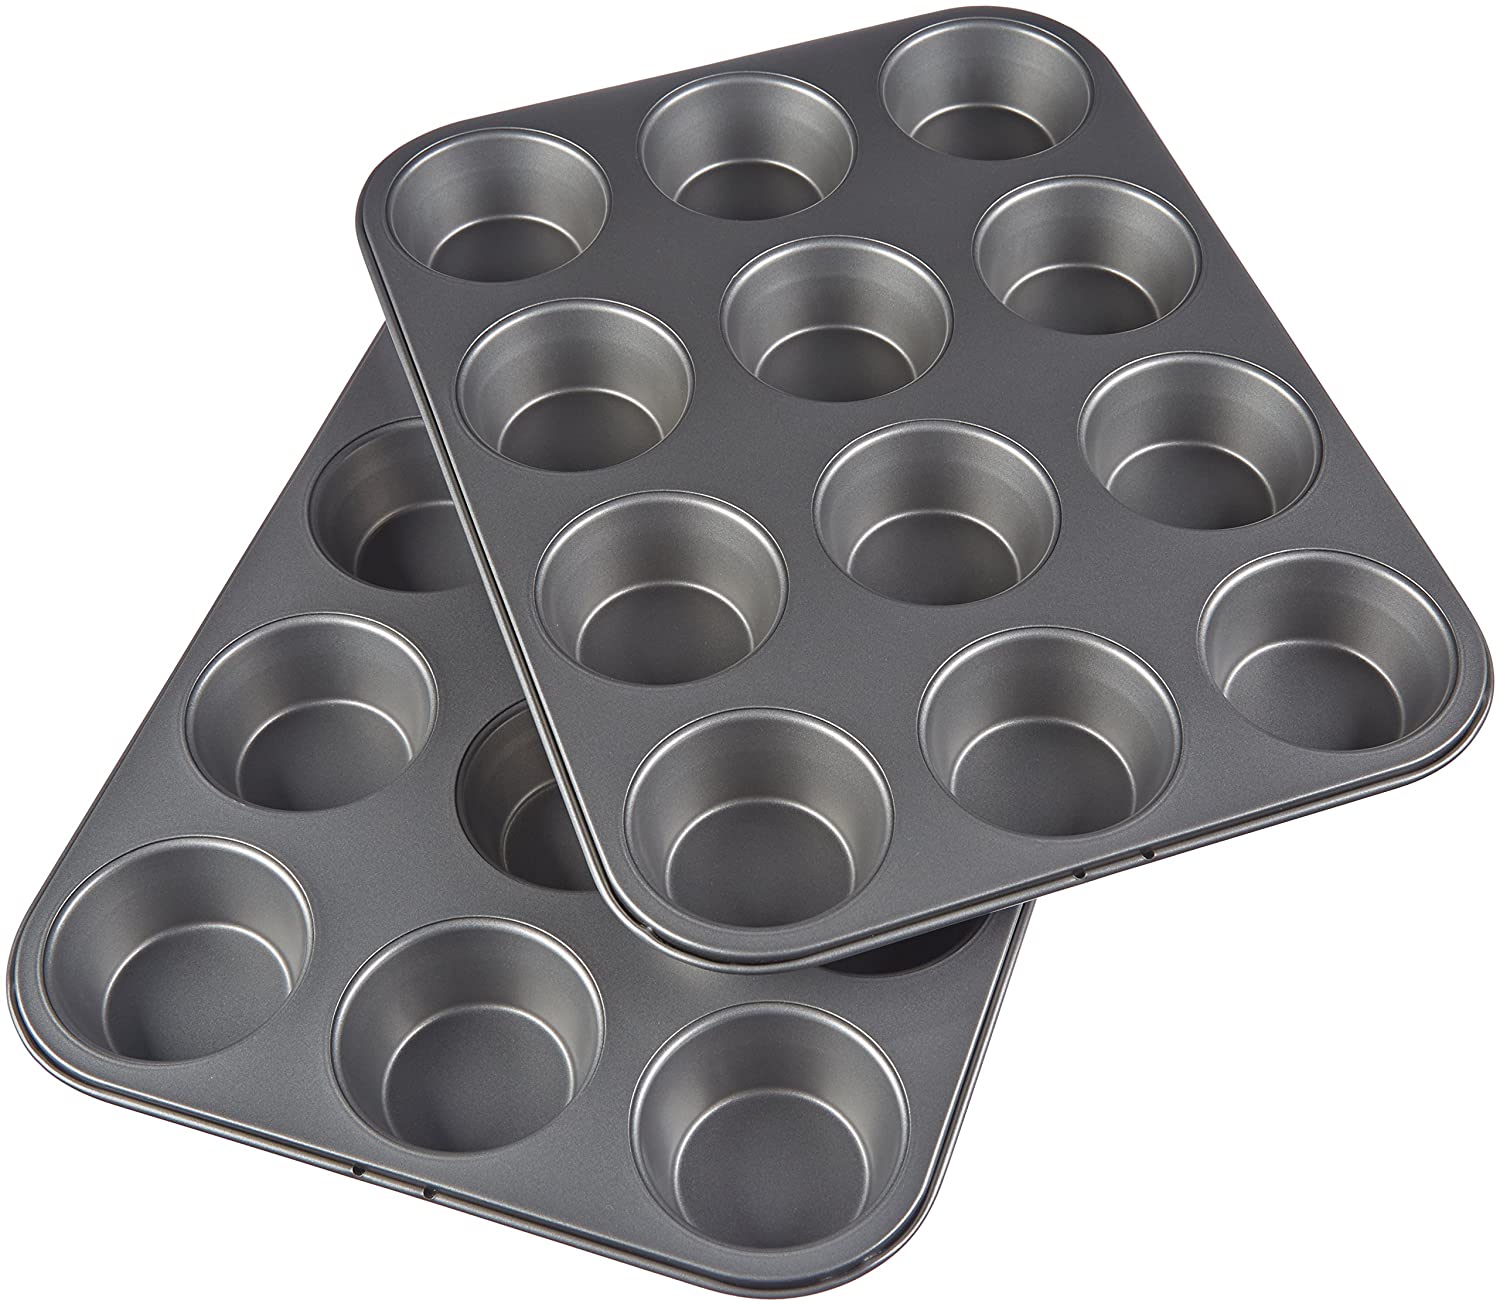
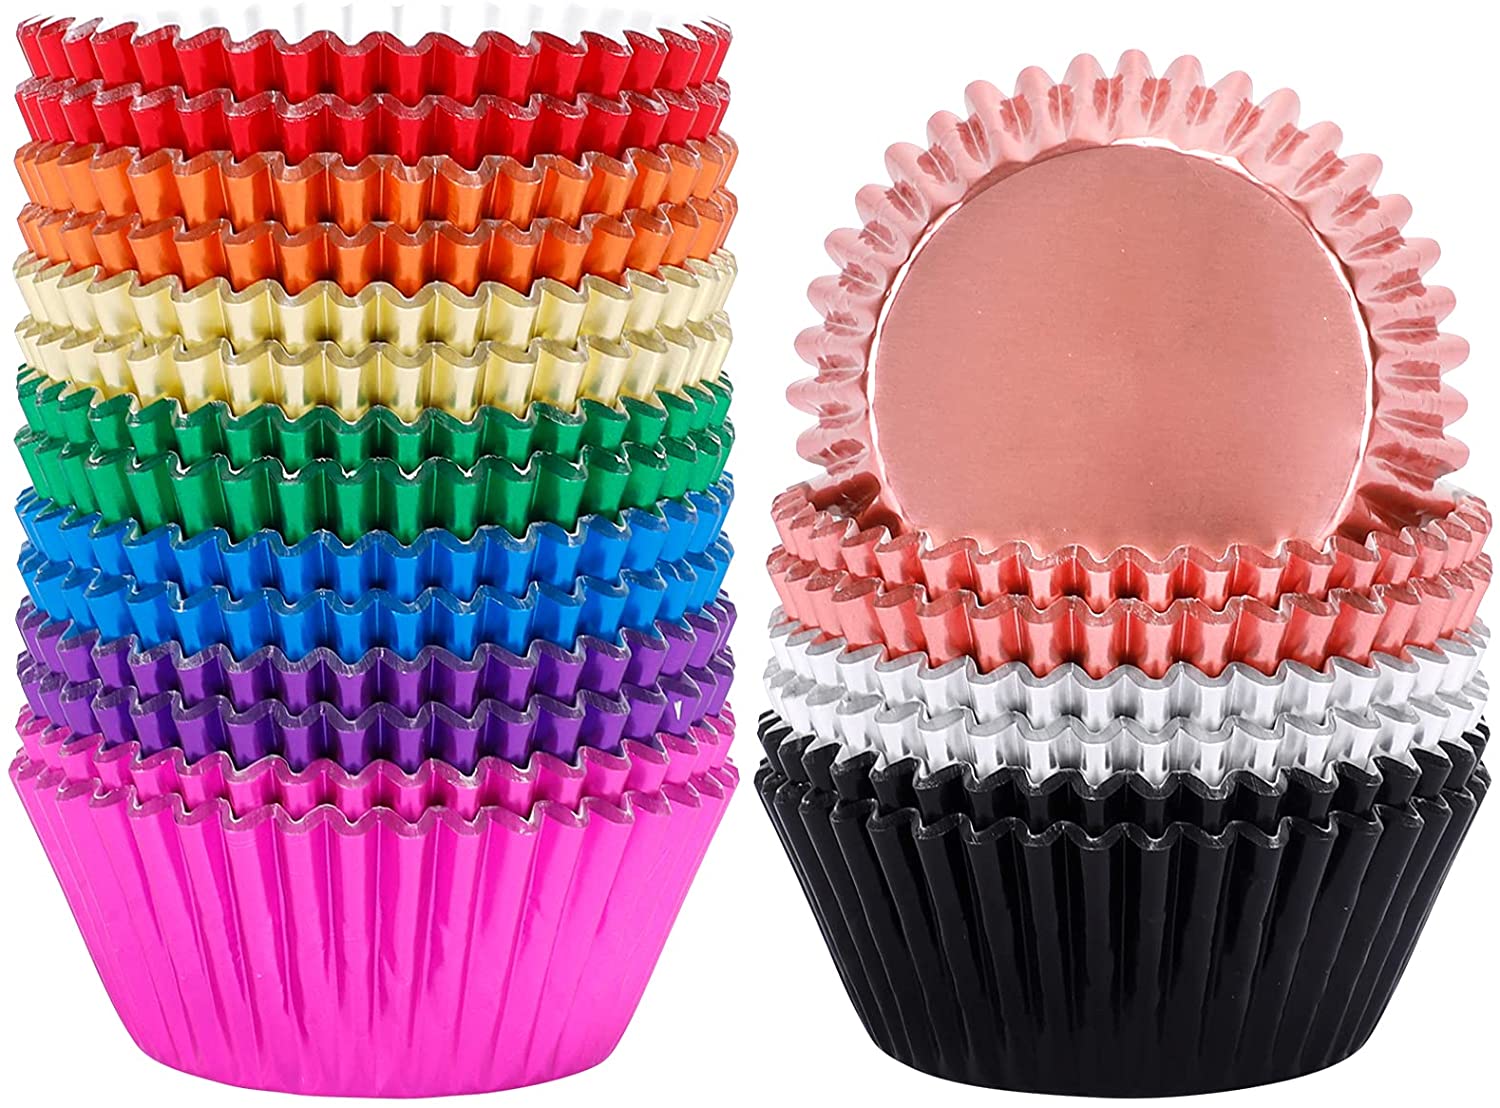
Preheat the oven to 350 degrees Fahrenheit, and place cupcake liners into cupcake pan.
Using a stand mixer or hand beater, combine all cupcake ingredients and beat until combined and smooth.
Fill the cupcake liners ¾ way full with batter.
Bake in the oven for 20 – 22 minutes or until the tops bounce back when touched. Allow to cool completely.
Using a stand mixer, beat the butter, powdered sugar, vanilla and heavy whipping cream with a paddle attachment until combined, creamy and stiff.
Scoop the frosting into a piping bag fitted with a large piping tip, and pipe a thick dollop of frosting on top of each cupcake.
Place one or two skulls onto the frosting.
Using the red gel icing, pipe blood details on the skulls to create a bleeding effect.
Enjoy!
Bloody Skull Cupcakes
Get into the spirit of Halloween with this spooky treat! Learn to make Bloody Skull Cupcakes using simple ingredients with this easy recipe!
Ingredients
For the White Chocolate Skulls:
- 16 oz white candy melts
- Chocolate skull moulds
For the Cupcakes:
- 15 oz chocolate cake mix
- 3 large eggs
- ½ unsalted butter, softened
- 1 ¼ Cups whole milk
For the Vanilla Frosting:
- 1 ½ Cups unsalted butter, softened
- 5 ½ Cups powdered sugar
- 3 teaspoons pure vanilla extract
- 4 tablespoons heavy whipping cream
- 2 tubes of red gel icing or red cookie icing
Instructions
- To make the skulls, follow the directions on the candy melt bag to melt them.
- Follow the directions on the mould to create the skulls, you will need about 30 small white candy melt skulls.
- Preheat the oven to 350 degrees Fahrenheit, and place cupcake liners into cupcake pan.
- Using a stand mixer or hand beater, combine all cupcake ingredients and beat until combined and smooth.
- Fill the cupcake liners ¾ way full with batter.
- Bake in the oven for 20 – 22 minutes or until the tops bounce back when touched. Allow to cool completely.
- Using a stand mixer, beat the butter, powdered sugar, vanilla and
heavy whipping cream with a paddle attachment until combined, creamy and stiff. - Scoop the frosting into a piping bag fitted with a large piping tip, and pipe a thick dollop of frosting on top of each cupcake.
- Place one or two skulls onto the frosting.
- Using the red gel icing, pipe blood details on the skulls to create a bleeding effect.
- Enjoy!
Recommended Products
As an Amazon Associate and member of other affiliate programs, I earn from qualifying purchases.
Nutrition Information:
Yield:
14Serving Size:
1 CupcakeAmount Per Serving: Calories: 675Total Fat: 28gSaturated Fat: 15gTrans Fat: 0gUnsaturated Fat: 10gCholesterol: 100mgSodium: 292mgCarbohydrates: 106gFiber: 1gSugar: 80gProtein: 4g
This information is provided as a courtesy and for entertainment purposes only. This information comes from online calculators. Although lifeloveliz.com attempts to provide accurate nutritional information, these figures are only estimates.

Liz Lampman is a coffee-fuelled Mom of 2 girls and lives in Hamilton, Ontario. She enjoys cooking and baking, food photography, and reading.